How to Create a Fully Functional Event Calendar in WordPress (The Easy Way)

I hope you enjoy this blog post. If you want Hello Bar to grow your leads, click here.
Author:
Mansi
Published
September 29, 2025

Table of Contents
Running events, whether they’re workshops, webinars, classes, or local meetups, means you need a simple way to show what’s happening and when. If you’re managing a WordPress site, there’s no reason to juggle spreadsheets or edit HTML every time you add a new event. You can create an event calendar in WordPress that’s not only easy to update but also looks great, helps people register, and fits naturally into your site.
In this guide, we’ll walk you through everything you need to create an event calendar in WordPress, from picking the right plugin to setting it up step-by-step. We’ll also go over how to make it interactive, handle bookings, connect payments, and use smart tools to drive more registrations.
Why You Should Create an Event Calendar in WordPress
If your business hosts events, even occasionally, you need a centralized spot for visitors to find details. A proper event calendar isn’t just a “list of dates.” It’s a live part of your site that:
- Keeps your schedule organized
- Helps users book or RSVP directly
- Automatically updates event status (upcoming, ongoing, past)
- Reduces your time spent manually editing pages
- Makes your business look structured and reliable
Most importantly, to create an event calendar in WordPress turns event management into a few clicks instead of hours of manual work.
Step 1: Choose the Right Plugin
You can technically build your own calendar using HTML tables, but let’s be real, that’s not scalable. Plugins make it easy to create an event calendar in WordPress with zero coding. The best ones let you handle recurring events, add ticketing, integrate payments, and sync with Google Calendar.
Here are the top five tools worth using in 2025:
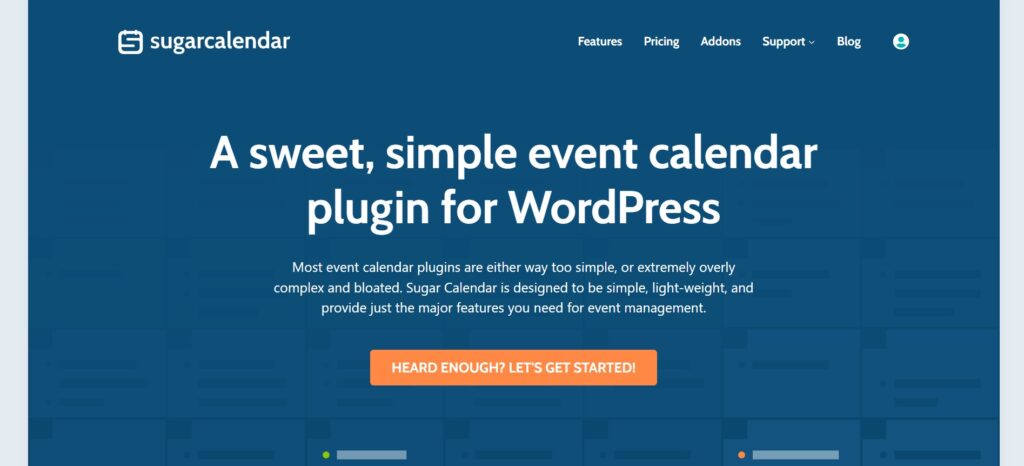
1. Sugar Calendar – Simple, Lightweight, and Reliable

If you want something clean, fast, and functional, Sugar Calendar is a solid pick. It’s not bloated like some calendar plugins that try to do too much.
Setup is easy:
Install it from your dashboard (Plugins > Add New > Sugar Calendar) and activate it. From there, you’ll see a new “Calendar” tab in your admin panel.
You can create single or recurring events, categorize them, and display them using shortcodes anywhere on your site.
Key features:
- Daily, weekly, monthly, and recurring events
- Connects with Google Calendar and iCal
- Add-ons for ticketing and payments via WooCommerce
- CSV and XML import/export for bulk event uploads
Best for: Businesses that need a no-fuss way to create an event calendar in WordPress and sync it with Google Calendar.
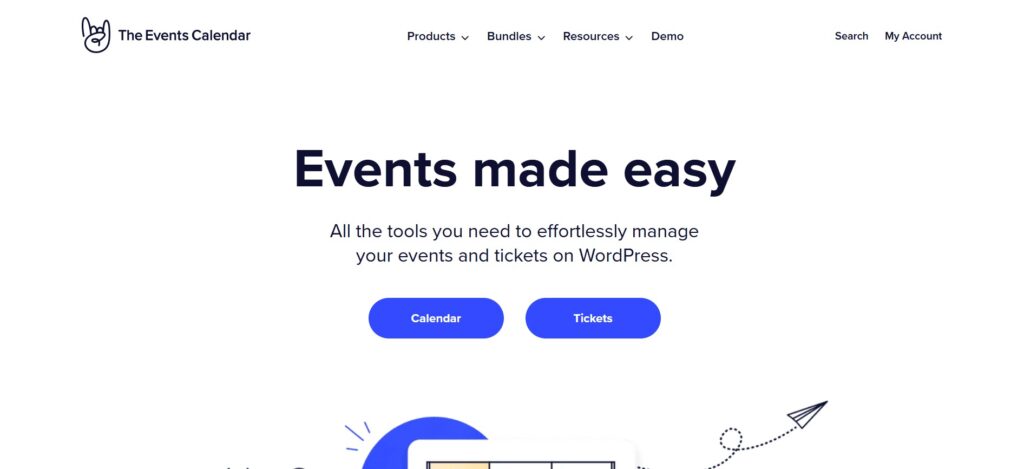
2. The Events Calendar – For Recurring & Virtual Events

This one’s used by big organizations, universities, and event companies because it’s stable and customizable.
Setup:
Once installed, go to “Events” in your dashboard and start creating new entries. You can set time, venue, organizer, and ticket info.
Key features:
- Support for one-time, multi-day, and recurring events
- Tooltips that show event details when users hover
- Google Calendar and iCal integration
- Aggregator tool to import events from Facebook, Meetup, or Google Calendar
Why it’s great: If you want your calendar to handle both online and offline events, this plugin can do it. You can even display a map of event venues using the built-in location field.
Best for: Organizations hosting regular or virtual events that need flexibility.
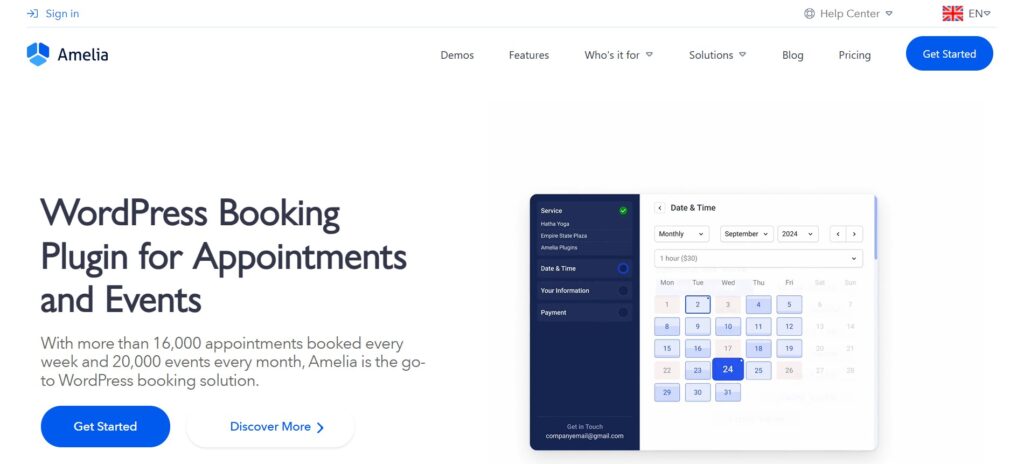
3. Amelia – Ideal for Bookings and Appointments

If your events involve appointments (like fitness classes, consultations, or workshops), Amelia does a lot more than just showing dates. It automates the booking and payment side too.
Setup:
After installation, go to “Amelia” in your admin menu and create your first service or event. You can add team members, define time slots, and let users book directly.
Key features:
- Automated booking confirmation emails
- Sync with Google Meet and Zoom
- Integration with PayPal and Stripe
- Option to create recurring or one-time events
- Ready-to-use dashboard for managing attendees
Best for: Gyms, salons, medical practices, consultants, or any business that runs events by appointment.
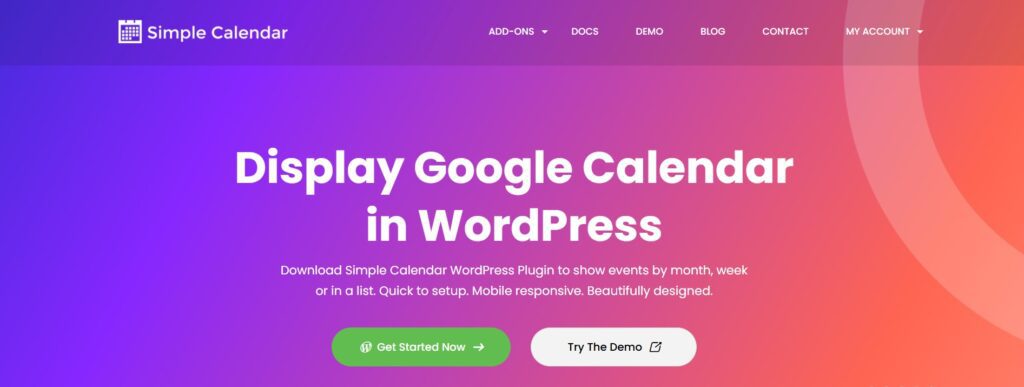
4. Simple Calendar – Sync Google Calendar Events

If you already manage your events in Google Calendar, this plugin simply displays that data on your WordPress site. You won’t have to recreate anything.
Setup:
You’ll need a Google API key (which is easy to get from the Google Cloud Console). Once linked, you can pull events automatically.
Key features:
- Display private or public Google calendars
- Multiple layout options (grid or list view)
- Time zone control
- Add-ons for better formatting and recurring event handling
Best for: Businesses that already use Google Calendar daily and want to show it on their website without extra management.
Step 2: Install and Configure the Plugin
Let’s say you go with Sugar Calendar, since it’s one of the easiest.
- Go to Plugins → Add New.
- Search for “Sugar Calendar.”
- Click Install and then Activate.
- Once active, go to Calendar → Add New.
- Enter event details, title, date, time, and description.
You can group events by category (like “Workshops,” “Meetups,” or “Webinars”) to keep things tidy.
After saving, add your calendar to any page or post using a shortcode like:
[sugar_calendar]
That’s it. Your visitors can now see a live calendar view right on your WordPress site.
If you’re using a theme builder (like Elementor or Block Editor), you can also embed your calendar as a block.
Step 3: Add Event Details the Right Way
A good calendar isn’t just about dates. The details matter.
When you create an event calendar in WordPress, make sure to add:
- Event name: Keep it short and specific.
- Date and time: Include time zones if your audience is global.
- Location: Add a Google Map or venue link.
- Description: One clear paragraph about what attendees can expect.
- Tickets or RSVP link: If your plugin supports ticketing, include payment info.
- Images: Use one featured image that matches the event theme.
Pro tip: If you have recurring events (like a weekly class or monthly meetup), always mark them as recurring in your plugin. It saves time and keeps your schedule consistent.
Step 4: Customize Your Event Calendar’s Appearance
Your calendar should look like it belongs to your site. All the plugins mentioned let you tweak the design easily.
You can usually change:
- Colors: Match your brand palette
- Views: Monthly, weekly, daily, or list view
- Layout: Grid, card, or compact display
- Sidebar Widgets: For mini-calendars or “Upcoming Events” sections
If you’re using block themes or page builders, you can adjust spacing and typography directly from your editor.
Step 5: Handle Payments and Bookings
If your events are paid or require RSVPs, don’t manage payments manually.
Here’s how to handle it directly from your event calendar:
- Sugar Calendar + WooCommerce Tickets: Sell tickets directly from your site.
- Amelia: Built-in payment handling via PayPal and Stripe.
- The Events Calendar + Event Tickets Add-on: Lets visitors buy tickets or RSVP without leaving your site.
Always test your checkout flow. Do a dummy purchase to ensure confirmation emails, event reminders, and receipts work properly.
Step 6: Sync with Google Calendar and Other Tools
Many businesses use Google Calendar internally to track schedules. When you create an event calendar in WordPress, you can sync it both ways.
For example:
- Add events in WordPress and push them to Google Calendar.
- Or import Google Calendar events to display them on your site.
This keeps everyone aligned without double entry.
If you’re using Simple Calendar, syncing happens automatically once you link your Google API.
Step 7: Promote Your Events
Creating an event calendar isn’t enough. People need to see it.
That’s where tools like Hello Bar, Google Calendar, Amelia, The Events Calendar, and Sugar Calendar can help indirectly through integrations and design options.
But if you want to actually increase signups, here’s where you can use Hello Bar to make a difference.
Use Hello Bar to Promote Events
Hello Bar lets you show subtle popups or banners without annoying users. You can use it to:
- Highlight your next event on every page.
- Create a countdown banner for upcoming sessions.
- Add a floating bar saying “Join Our Free Webinar This Friday.”
- Show targeted event promotions to specific visitors (for example, only new visitors or those who’ve visited your Events page).
Example:
Let’s say you run a local fitness studio. You can create an event calendar in WordPress with your class schedule, and use Hello Bar to show a small popup that says “Sign up for this week’s yoga workshop – spots filling fast.”
It’s simple, visible, and effective without interrupting your site’s flow.
Step 8: Optimize for SEO and User Experience
You want your events to show up when people search “marketing workshop near me” or “upcoming events [city].”
Here’s how to optimize your calendar pages:
- Use descriptive titles for each event (“SEO Training for Beginners – Toronto, Jan 2025”)
- Add meta descriptions in your SEO plugin (like Rank Math or Yoast)
- Include schema markup (most calendar plugins add this automatically)
- Add internal links from your homepage or blog to your event pages
- Keep URLs short and clear (e.g., /events/yoga-workshop)
Also, make sure your calendar is mobile-friendly. Most of the above plugins handle responsiveness well, but always test it yourself on different devices.
Step 9: Automate Notifications and Reminders
Once you’ve set up your system to create an event calendar in WordPress, automation will make your life easier.
Here’s what you can automate:
- Confirmation emails when someone registers
- Reminders 24 hours before the event
- Follow-ups after the event for feedback or next sessions
Plugins like Amelia and The Events Calendar have built-in notification systems. For others, you can connect to email tools via Zapier or webhooks.
This keeps attendees informed and reduces no-shows.
Step 10: Track What’s Working
You can’t improve what you don’t measure.
Here’s how to track your calendar performance:
- Check which events get the most registrations.
- See what type of events people click on most.
- Track conversions (from calendar view → registration) using Google Analytics.
- Add event parameters (UTM tags) to links in Hello Bar or emails to see which promotions work best.
Over time, this data helps you plan better events and understand what your audience cares about.
Also, read our blog on 5 WordPress SEO Plugins: What to Use and Why It Matters Most Now
Common Problems (and How to Fix Them)
1. Events not showing up:
Clear your cache and check if your calendar shortcode is placed correctly.
2. Time zones showing wrong:
Set the correct timezone under Settings → General in WordPress.
3. Styling looks broken:
Some themes override calendar CSS. You can fix it by adding custom CSS or choosing a compatible theme.
4. Event page loads slowly:
Avoid adding too many large images. Keep plugins updated and disable unused add-ons.
5. Duplicate entries after import:
Most plugins have a “Skip existing events” option during import. Make sure it’s checked.
Real Example: A Local Bakery
A local bakery wanted to host weekend baking workshops. They decided to create an event calendar in WordPress using Sugar Calendar.
They added recurring Saturday events, linked payments through WooCommerce, and used Hello Bar to promote “Sign up for this weekend’s croissant workshop.”
Result: They filled every slot within three days. The calendar automatically hid past events and displayed only future ones, no manual cleanup needed.
That’s the difference between having an event page and having a system.
Final Thought
When you create an event calendar in WordPress, you’re not just organizing dates, you’re building consistency for your business. Choose a plugin that fits your workflow, keep it updated, and pair it with a simple tool like Hello Bar to bring attention to what matters.
If it’s easy for you to manage and easy for visitors to use, you’ve already done it the right way. Try to create an event calendar in WordPress today.


